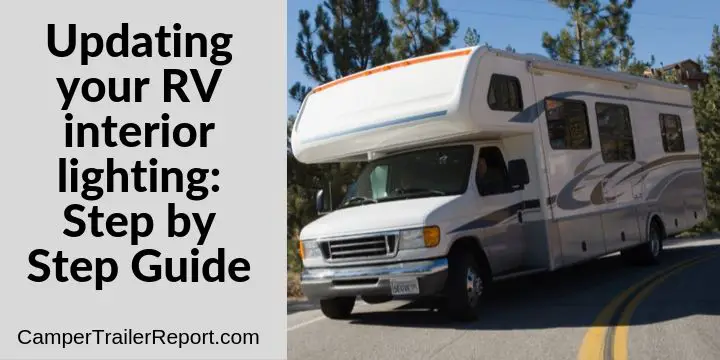
Updating your RV interior lighting.
Most people don’t have the slightest idea of where to start when you want to update your RV interior lighting. You may need to update your RV lighting if they aren’t LED or if you simply find them boring and no longer fitting your style.
According to my understanding, RV’s can either have 120v or 12v lights. However, the 120v lights run when connected to shore power or a generator and the 12v lights run off batteries. This is a step by step instructions article, to help you update your RV interior lighting.
Step 1: Buy the right type of bulbs you need
Over the years, there has been a lot of advancement when it comes to RV bulbs. You need to do extensive online research to find the best bulb that will suit your needs. It may take you some time to make up your mind especially when you are unsure of exactly what you want.
Switching to LED is very important, if possible, because it saves heat, power, and lasts longer than the regular bulbs. Regular bulbs use too much energy and produce a lot of heat even when switched on for a few minutes.
> You may also like:45 RV Accessory Must-Haves for Your Travel Trailer<<
Video Overview: How To Replace An RV Light Fixture
Step 2: Decide on whether you buy or DIY when it comes to fixtures
Buying the bulb fixtures is the easiest option, but sometimes you may not come across exactly what you want. There are a lot of bulb fixture options online that you could always consider if it is within your budget. If you want to explore and be more creative, then you could always design your bulb fixture.
If you decide to make your bulb fixtures, ensure that you think outside the box. There are a lot of things that you could repurpose to make the light fixtures including jars, serving bowls, decorative objects, planters, and dishes.
> You may also like:Worst 5th Wheel Brands to Avoid <<
Video Overview: What You Must Know Before You Update RV Light Fixtures
Step 3: Installation
Installing RV light fixtures is just the same as installing the light in the home. I did a lot of online research trying to find videos that show how to install RV lighting but I was unsuccessful. The good news, however, is that the approach is similar to how you install home lighting.
When it comes to RV light fixtures, you can simply buy the standard light fixtures and install them. All you need to do is ensure the light bulb has the same voltage as the current fixture in your RV currently.
If you are unable to install RV lighting properly, then I would recommend that you hire a professional. Electricity can be rather tricky especially when you are not a handy person. The good news is that electricians don’t charge a lot of money and the cost may fall within your budget.
Video Overview: Replace And Upgrade The RV lighting With Chandelier Fixtures And 12 Volt LED Lights – Install Tips
Conclusion
Updating your RV interior lighting requires a lot of patience and you need to conduct extensive research. Ensure that you pick out the right light fixtures that will complement the type of style that you are looking for. Buying the light fixtures and bulbs, in my opinion, is the easiest and fastest way to update your RV interior lighting.
> You may also like: 25 Best National Parks in the USA <<
Most RV beginners learn this the hard way. Don’t.
🚐 Start RV Living the Right Way (Instant Download)Instant download • Secure checkout • Beginner-friendly


