How To Hook Up External Propane Tank To RV: Step By Step Guide
Most of the work here has to be done by a licensed propane company. The connection to your RV is easy as soon as you put a wire in the ground. Just start finding the right hoses and connections to use the propane company’s pipe. Let’s start looking at the below stepwise method on; how to hook up an external propane tank to an RV.
Step 1: Install an Extend A-Stay Kit
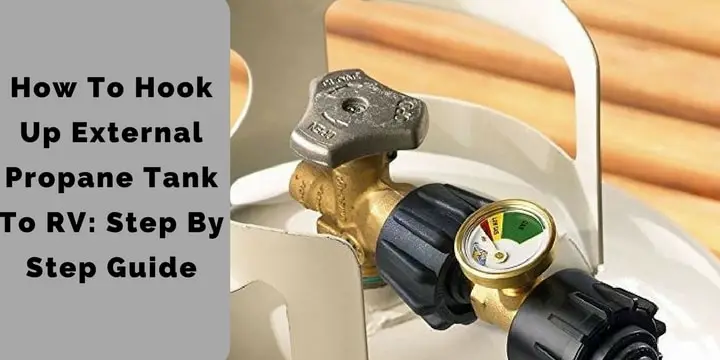
Most of the people I’ve seen already have one of these units. It’s a “tea” that fits between coaches and propane coaches. The trick is, it has two connections. A port for devices such as small barbecues that use the “one-way bottles” port. This is considered to be an “outflow” connection as gas flows out to the device.
The other is a 1/4 “Inverted flare connection to which an external propane tank is connected, most of which you would connect with a short 24″ hose with the 1/4 “inverted flare and an ACME bottle cage” inflow “connection connect a bottle of propane to furnish your equipment, the fact is that you can have a bottle and a grill connected to the two different taps. Most people will use all these parts and hoses already installed is the trick to use!
Step 2: Run a high-pressure gas line
Check with your local propane company, but since the trainer has a regulator and if you connect a 100-pound bottle that is considered a high-pressure port, you will need a wire that will be brought to the bus.
You can see below, we have a barrel installed at the back of the garage with a gas quick connector for easy installation and removal. You can also see that the port has a local shut-off valve. This line is, as far as I know, involved in the buried tank in front of the main controller.
Step 3: Get the right hoses and fittings
It will be difficult to make sure everything fits together here. You need the following hoses and fittings.
- 25 ‘gas hose with 3/8 “crimp connection (this is quite common but take the length you need)
- 3/8 “flare for 90 bends (flare end in the hose and threaded end in the quick connector)
- 1/2 “threaded shut-off valve
- 1/2 “to 3/8” thread reducer
- 3/8 “crimp to the threaded connection
- 1/2 “to 1/4” thread reducer
- 1/4 “Male Thread to Acme Connector for Counterflow (THAT IS THE KEY !!)
The Bottom Line:
The last seizure is the spell and it can take you a few weeks to find it. There are others out there that look like this, but the key is that the flow has to run from the 1/4 “side to the Acme side, the others I’ve found are going the other way. That’s because of the hose which is powered by the coach as if it were connected to a propane bottle with an Acme fitting.
Video Overview: Connecting Your RV To Any External Propane Source – Sturgistay Propane Adapter
Remember that if you have a longer stay, this pigtail tube with a 1/4 “inverted flare and the male ACME mother in the end have. We treat the hose coming out of the house like a propane bottle connection with a localized barrier at both ends.
This works well because the 1/4 “reverse widening end of the braid does not rotate freely so you can connect it first, and then use the free-rotating ACME end without any difficulty.
Related Post: 45 RV Accessory Must-Haves for Your Travel Trailer
Types of RV Propane Tanks
There are three types of RV propane tanks:
- ASME tanks – These tanks are made to meet the standards set by the American Society of Mechanical Engineers (ASME). They are typically mounted on the side of the RV and are used to store propane for use in appliances, such as the stove, furnace, and hot water heater.
- DOT cylinders – These are portable propane tanks that are often used to fuel outdoor appliances, such as grills and camp stoves. They are regulated by the Department of Transportation (DOT) and are typically smaller in size than ASME tanks.
- Composite propane tanks – These tanks are made of a combination of materials, such as fiberglass or aluminum, and are designed to be lightweight and easy to handle. They are often used as a replacement for steel propane tanks, as they do not rust or corrode and are more resistant to damage.
External vs Onboard RV Propane Tanks
An external RV propane tank is a separate tank that is not permanently mounted to the RV. It can be placed on the ground next to the RV and connected to the propane system via a hose. These tanks are typically larger in size and are used to provide a more convenient and reliable source of propane for the RV.
Onboard RV propane tanks are permanently mounted to the RV and are usually smaller in size than external tanks. They are typically located under the RV and are used to store a smaller amount of propane for use in appliances such as the stove, furnace, and hot water heater. Some RVs have both an external and onboard propane tank, with the external tank serving as the primary source of propane and the onboard tank serving as a backup.


