If you’re an RV enthusiast who enjoys the freedom of the open road, you’ve probably considered the convenience of installing RV hookups at home.
Having an RV hookup setup at your residence not only makes preparing for trips easier but also provides a comfortable spot for guests with RVs to stay. This guide will walk you through the essential steps for installing RV hookups at home, including electrical, water, and sewage connections. With proper planning and execution, you can transform your property into an RV-friendly haven.
Step 1: Understand Local Regulations and Permits
Before you begin, familiarize yourself with local zoning laws and building codes. Some municipalities require permits for installing RV hookups, especially if they involve electrical or plumbing work. Contact your local building department to ensure your plans comply with regulations. Ignoring this step can lead to fines or the need to undo your work.
Step 2: Choose the Right Location
Select a location on your property that is easily accessible for an RV. Consider factors like:
- Proximity to your house: This can simplify connections to existing utilities.
- Level ground: A flat, stable surface is ideal for parking an RV.
- Space for maneuvering: Ensure there’s enough room to drive the RV in and out without difficulty.
- Drainage: Avoid areas prone to water pooling, which can damage the RV and the hookup setup.
Video Overview: Plugin RV power at your house
Step 3: Install Electrical Hookups
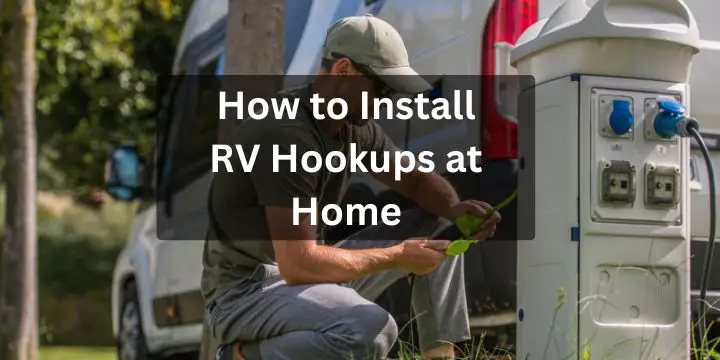
Most RVs require a 30-amp or 50-amp electrical connection. Here’s how to set it up:
- Determine Your Needs: Check your RV’s manual to confirm whether it requires a 30-amp (120-volt) or 50-amp (240-volt) service.
- Hire an Electrician: For safety and compliance with electrical codes, hire a licensed electrician to install the hookup. They’ll ensure the wiring, breaker, and outlet are suitable for your RV’s requirements.
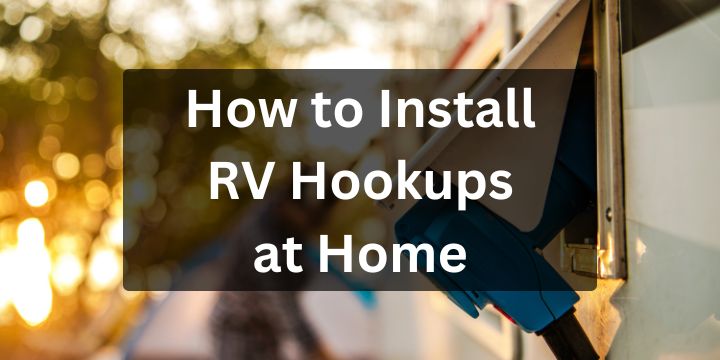
- Install the Outlet: The electrician will install a weatherproof RV outlet box near your chosen parking spot. Ensure it is positioned at a convenient height for connecting your RV power cord.
- Test the Connection: Once installed, test the outlet with a voltmeter to ensure it delivers the correct voltage.
Read More: Best Road Trips for RV Travelers in 2025
Step 4: Set Up a Water Connection
Access to clean water is a must for any RV. Here’s how to create a water hookup:
- Locate Your Water Source: Identify an outdoor faucet or water line close to the RV parking spot.
- Install a Frost-Free Spigot: For year-round use, consider installing a frost-free spigot to prevent freezing during cold months.
- Use a Hose Bib Splitter: If you’re connecting to an existing outdoor faucet, a hose bib splitter can allow simultaneous use of the faucet for your home and RV.
- Choose a Drinking Water-Safe Hose: Invest in a high-quality, drinking water-safe hose to connect your RV to the water source. These hoses are designed to prevent unpleasant tastes or contaminants.
- Test the Water Pressure: Use a water pressure regulator to ensure the pressure doesn’t exceed your RV’s specifications, which could damage the plumbing system.
Step 5: Install a Sewage Hookup
A sewage connection is one of the most challenging parts of setting up RV hookups at home. Here’s how to do it:
- Locate Your Sewer Line: Identify where your home’s main sewer line or septic tank is located.
- Obtain Necessary Permits: Installing a sewer connection often requires a permit. Consult local regulations before proceeding.
- Hire a Professional: Connecting to the main sewer line or septic tank involves significant excavation and precise work. It’s best to hire a licensed plumber to ensure compliance and proper function.
- Install a Dump Station: A sewer cleanout valve or a dedicated RV dump station can be installed near the parking area. Ensure it has a secure, threaded cap to prevent leaks or odors.
- Use a Proper Sewer Hose: Connect your RV’s sewer hose to the dump station securely to avoid spills.
- Flush Regularly: Periodically flush the sewer system to prevent clogs and odors.
Video Overview: 3 TIPS to INSTALL RV HOOKUPS saves $. MAKE EXTENDED VISITS HAPPIER. By 2yr full-timer Travato GL van
Step 6: Enhance the Parking Area
Once your utility hookups are in place, focus on creating a functional and comfortable parking area:
- Gravel or Concrete Pad: A durable surface prevents the RV from sinking into the ground and improves stability.
- Shade: Plant trees or install a canopy to provide shade and protect the RV from sun damage.
- Lighting: Add outdoor lighting to enhance safety and convenience during nighttime use.
- Security: Install cameras or motion-sensor lights to keep the area secure.
Step 7: Maintenance and Safety Tips
- Inspect Regularly: Periodically check all hookups for wear, leaks, or damage.
- Protect Connections: Use weatherproof covers for electrical outlets and spigots to prevent water damage.
- Sanitize Water Lines: Clean and sanitize the water connection periodically to ensure safe drinking water.
- Follow Safety Guidelines: Adhere to RV manufacturer’s recommendations for using and maintaining utility hookups.
Benefits of Having RV Hookups at Home
- Convenience: Easily prepare your RV for trips without visiting a campground.
- Cost Savings: Avoid storage fees and the need for campground hookups.
- Guest Accommodation: Offer a comfortable stay for friends or family traveling in their RVs.
- Increased Property Value: Properly installed RV hookups can enhance the appeal of your property.
Final Thoughts
Installing RV hookups at home is an investment that can greatly enhance your RV lifestyle. By following this guide and working with professionals where necessary, you can create a safe, convenient, and functional setup. Whether you’re preparing for your next adventure or hosting RV guests, having hookups at home is a game-changer. Take the time to plan, comply with local regulations, and enjoy the freedom and flexibility of an RV-friendly property.
Read More: RV and Camper Life with Pets: Tips for Traveling with Your Furry Friends in 2025


